 Back
Back
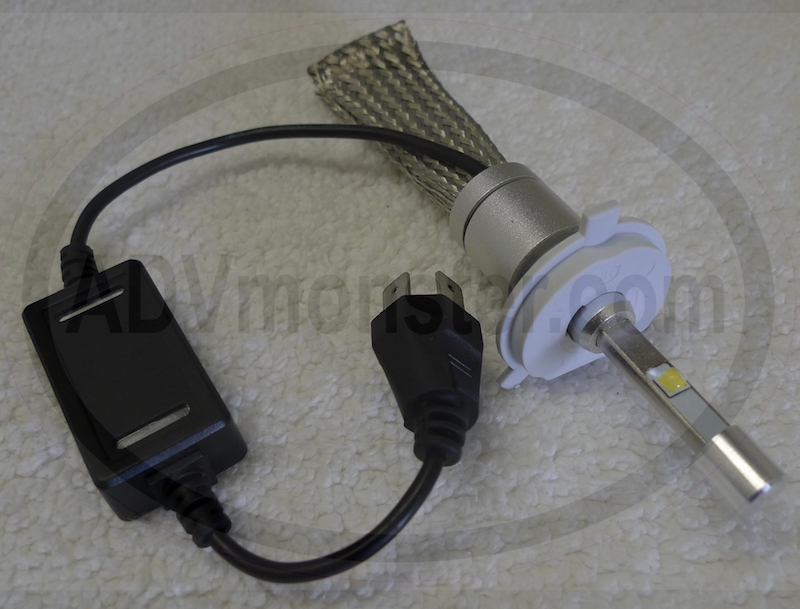
The R3 in H4 R3 means Revision 3. The first Rev 1 had a fan to cool it, no way was I buying that so I waited. Rev 2 had a big bulky heat sink set of fins on the back - too bulky I doubted it would have fit inside the headlight bucket.
Now Rev 3 is awesome! It uses heat pipe technology to route the heat out of the unit to the metal mesh that you can spread out to provide air cooling. Although actually the mesh does not need to be outside for cooling, because to quote Sanjoh: "Airflow is good, but it is not required. We've run a test sample in a sealed container at elevated temps for nearly 20 months, with no issues".
Now I know that lumens may not be measured in a standard way but still these puppies are bright. See the above ADV thread for example pictures of light output.
I've only had the LED installed for a week but I really like it and I like the beam pattern. The low beam LED stays on when the hi beam LED is turned on, so you have both the large wide low beam pattern AND the small upper hi beam pattern simultaneously, which is a great improvement over a standard bulb.

To install the LED assembly you remove the rubber boot and remove the old bulb. Note that the LED can separate by using a half twist to remove it from the white base with the 3 tabs. Then insert the 3 tab base into the headlight and lock it in with the 2 spring clips. Then put the boot on first, then carefully insert and twist the main assembly into the 3 tab base to lock it in.
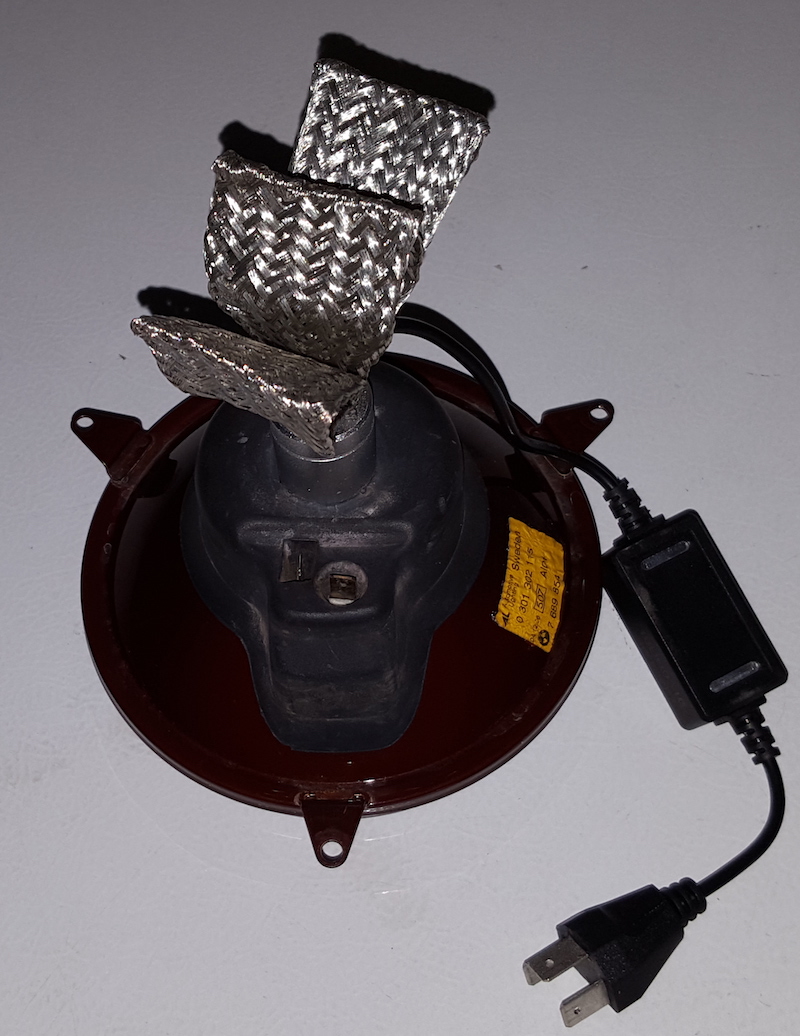
Here is the completed headlight assembly that we will mount into the bucket:
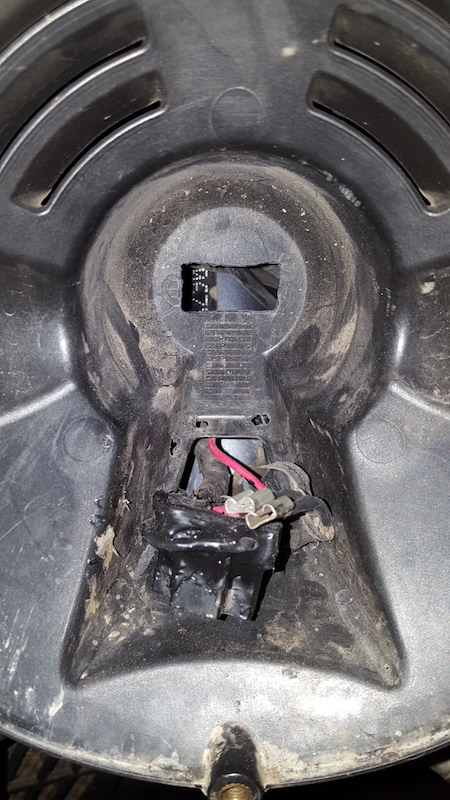
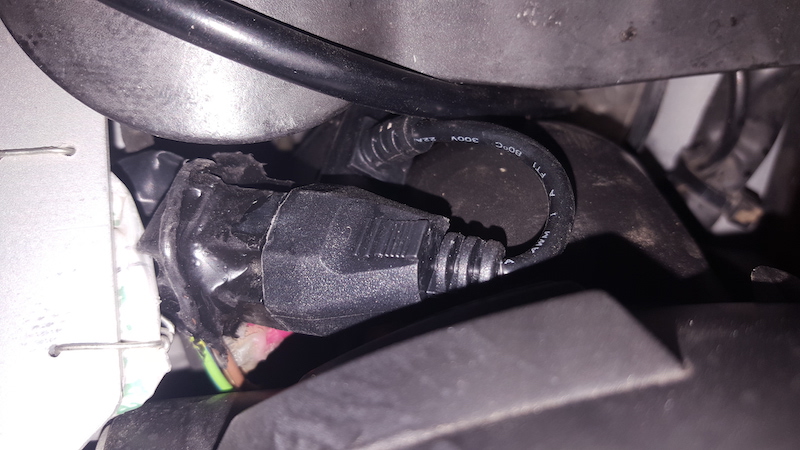
The LED assembly is long enough that the cable/control box/connector portion will not fit inside it. The three prong H4 connector is one area that caused me some concern because it is a SUPER TIGHT fit. See in the picture below the connector is shown not fully seated as I was going to have to remove it before moving on to the next step.
The male prongs on the H4R3 are much thicker than standard bulbs and Sanjoh told me that the BMW female connector has one of the thinnest he has seen and there is no bevel on the leading edge. He said you might consider taking a screwdriver and widening the BMW female connector. I did not want to do this as it would be hard to reverse in the future if I ever decided to use regular bulbs. I actually had to take sliplock pliers to fully seat the 2 connectors, and to unplug them I had to use screwdrivers and twisting action. It is TIGHT!

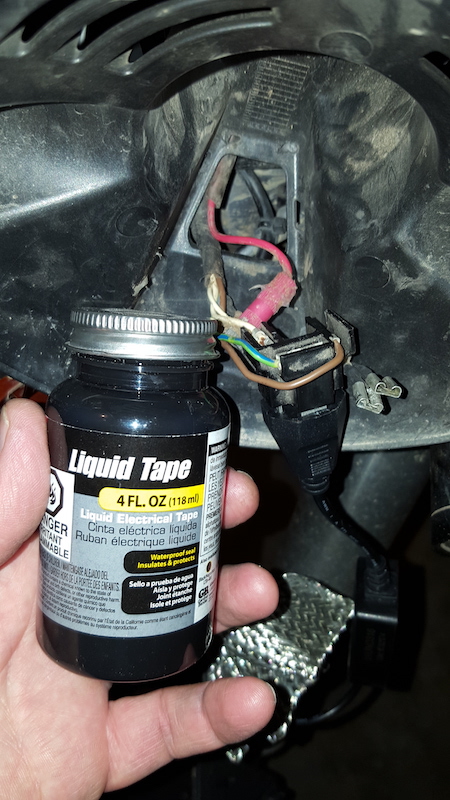
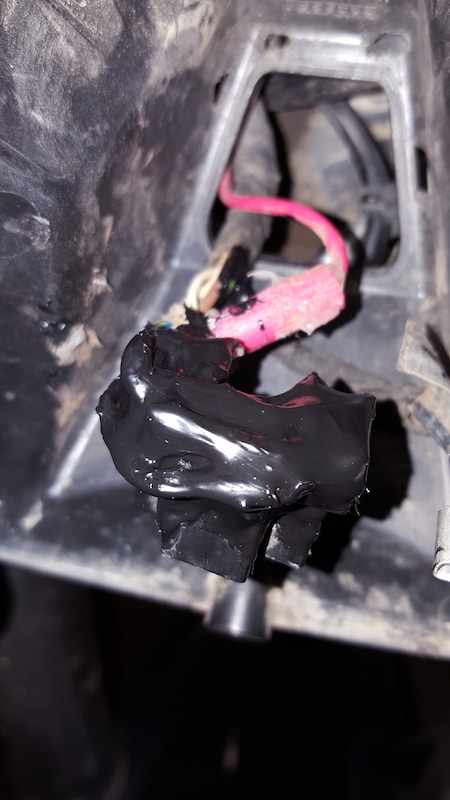
The H4 male connector has exposed connections so now that it was going to be outside the bucket it needed to be more waterproof. To do so I used my old buddy - liquid electrical tape. The 2nd pic shows the brush tip on the right, with a blob of it about to be applied. It is great stuff, like liquid rubber!

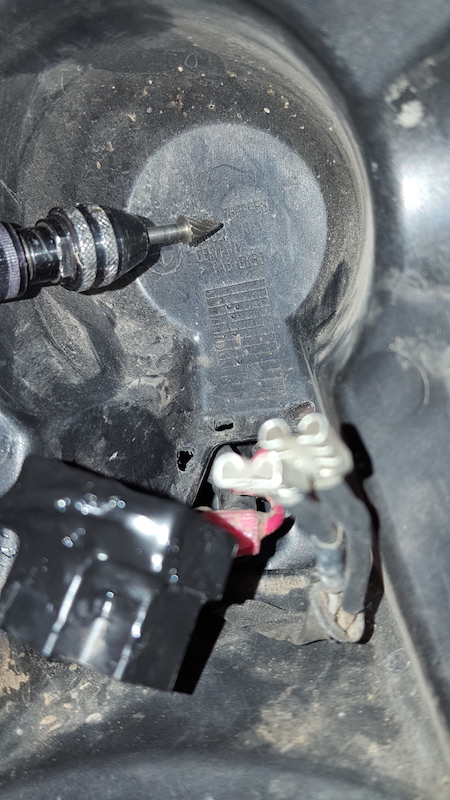
The mesh could maybe fit inside but I decided I wanted to give it better cooling so my idea was to cut a rectangular hole in the back of the plastic bucket with a Dremel tool and put the mesh on the outside of the bucket. I also cut little holes on the right side where I would feed the zip ties to hold the connector and the control box (not shown in pic, those are older holes).
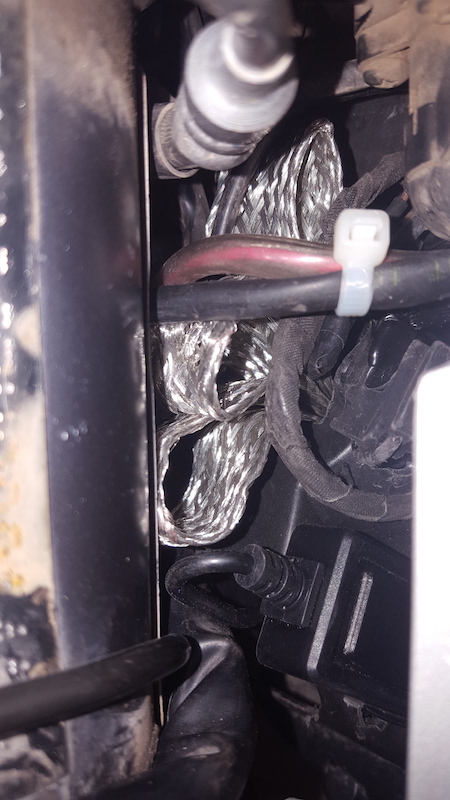
Ok ready to insert the mesh into the new hole, and feed the rest of the connector cable out the standard access hole.
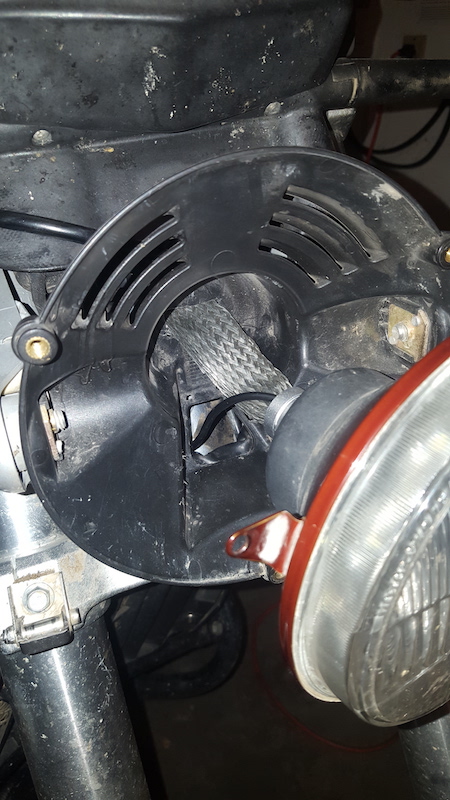
Pics of the mesh outside of the headlight bucket, and of the connector and control box zip tied onto the right side.

Good luck!
Back