 Back
Back
The early models sanjoh sold reportedly had quite a few failures. I personally believe this was due to running the drivers at a very high current to achieve the most light output.
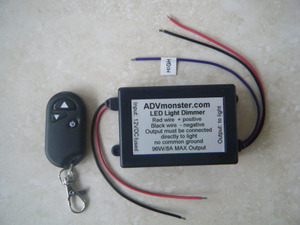
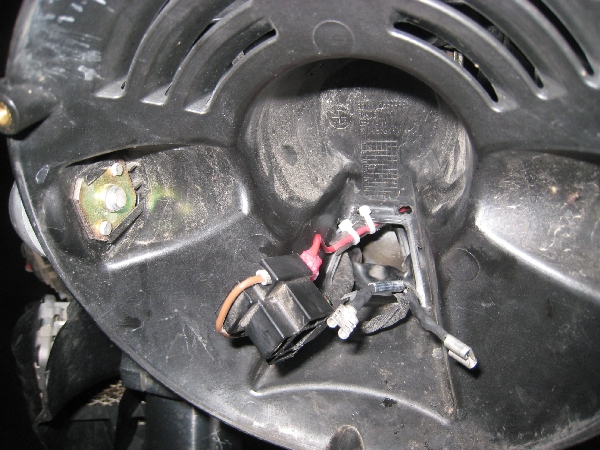
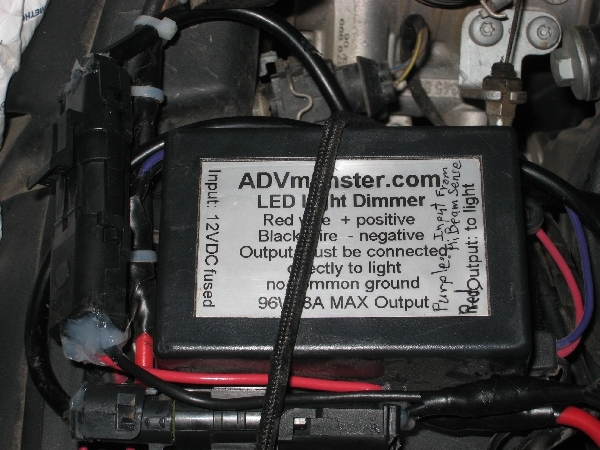
My solution to this is to also install his $45 LED Dimmer module which is waterproof and has a wireless remote control fob. It also has a high beam bypass control input that I wired to my high beam so that when my high beam is on it always outputs 100%. When the high beam sensor is off then it modulates the output so it is not on all of the time so it looks dimmer and this can be set by the remote fob.
I highly recommend this setup using the dimmer as it solves all the issues - low current most of the time while on low beam, good daytime conspicuity but still aimed a little high so on high beam they aim properly.
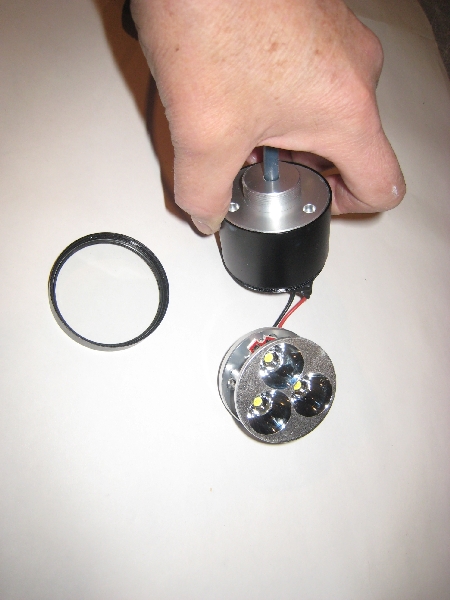
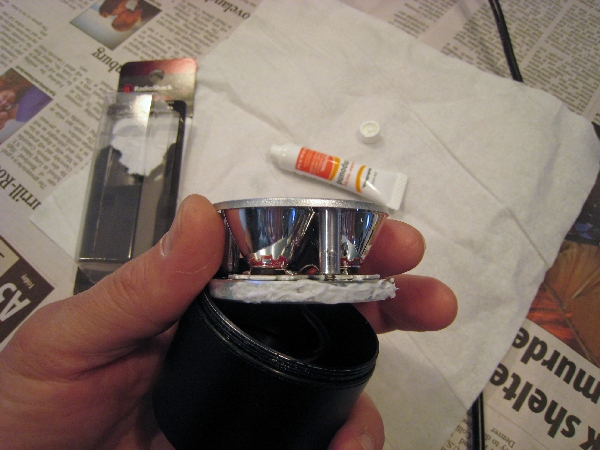
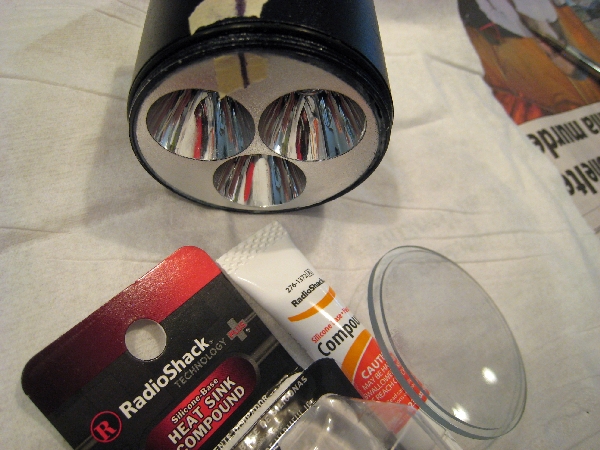
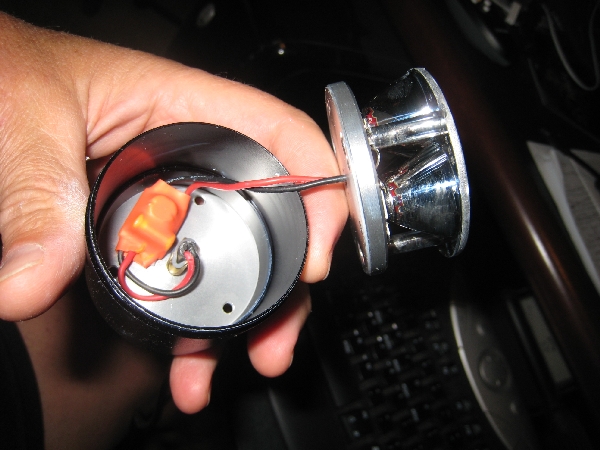
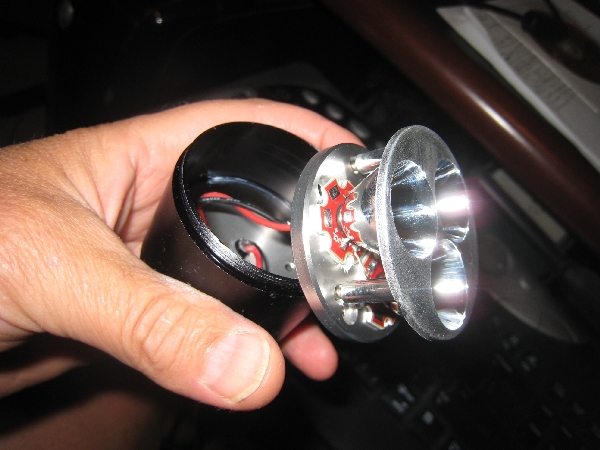
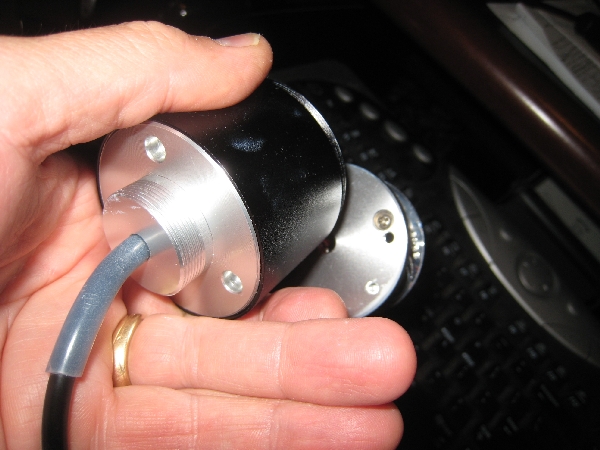
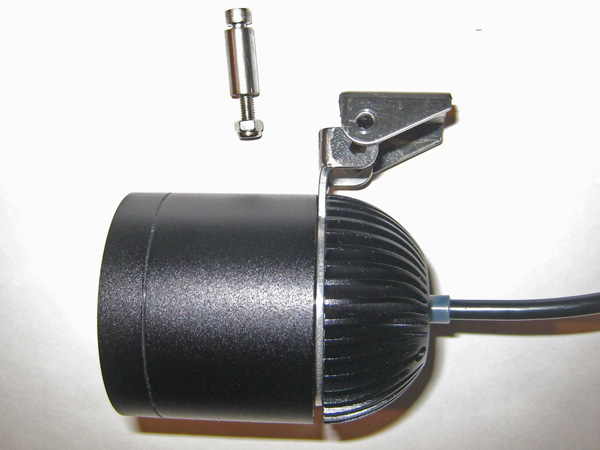
Heat concerns: On sanjoh's thread there was some discussion that heat was causing early failures of these LED lights (along with running at high current for a long time). I did a suggested quick fix for this by using a cheaper type of heat sink compound (RadioShack #276-1372) and took the LED front apart and applied a thin layer of the compound to the assembly.
(You don't need the expensive compound made for high temperature integrated circuit chips!) The goal is to conduct the heat from the inner LED assembly to the metal casing where air can cool it.
I don't believe the rear finned heat sink does much good at cooling this unit, based on the heat all being much further up front in the housing.
Upon reassembly I also coated the threads and the gap around the front lens with silicone.

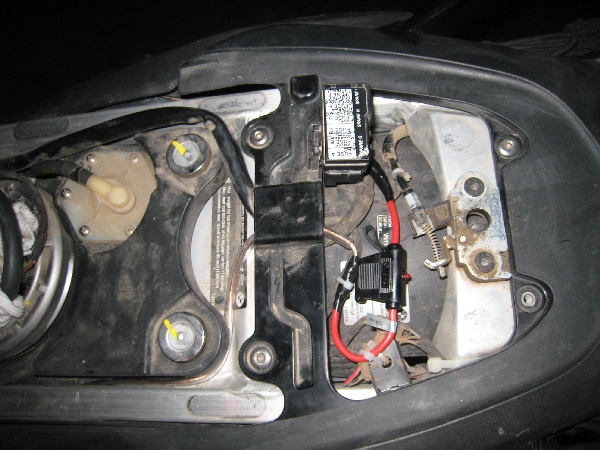
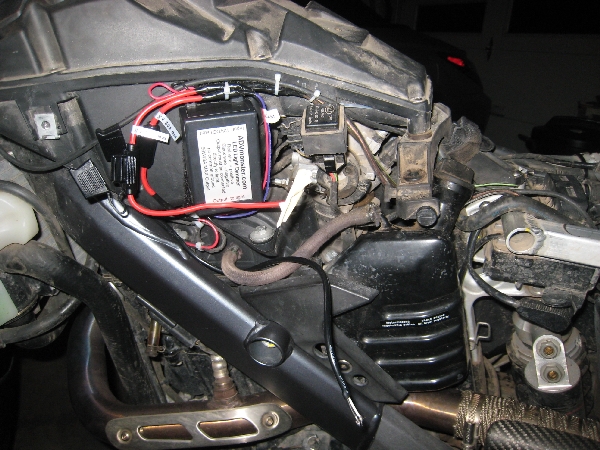
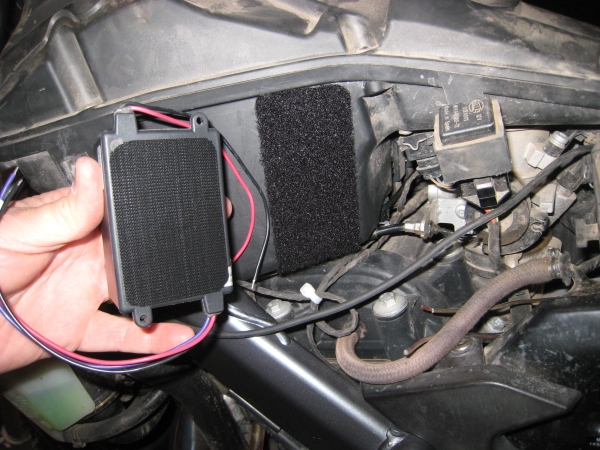
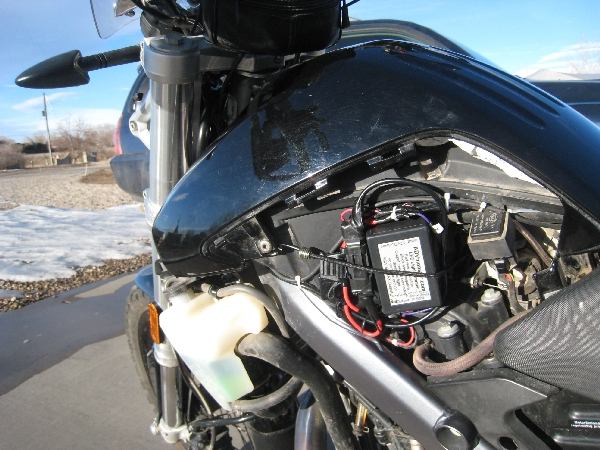
I installed the LED Dimmer module using the supplied velcro, to the left airbox panel under the faux gas tank panel. Works fine there if carefully placed.
Mechanical:
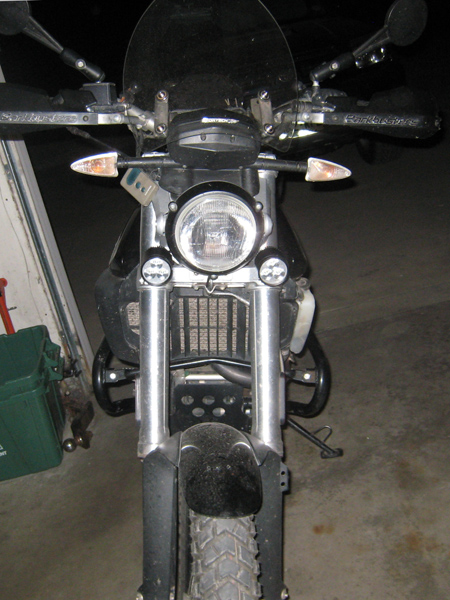
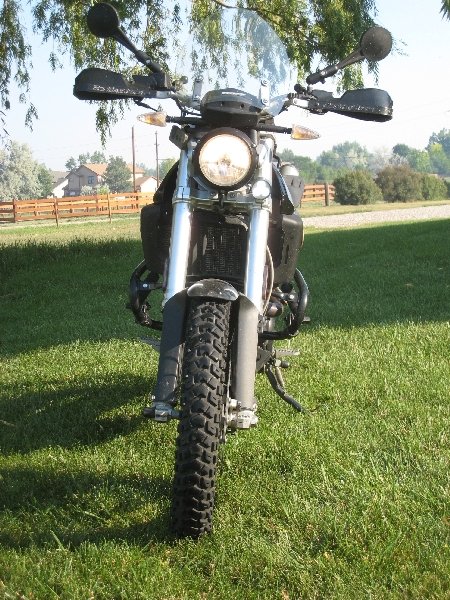
Initially I installed this in the middle of winter when I was not riding the bike and was "out of touch" with it. As a result I installed it under the triple clamp. Well my stupidity became apparent on a Baja trip when the light would hit the fender on medium sized bumps of the fork! Duh. Stupid idea.
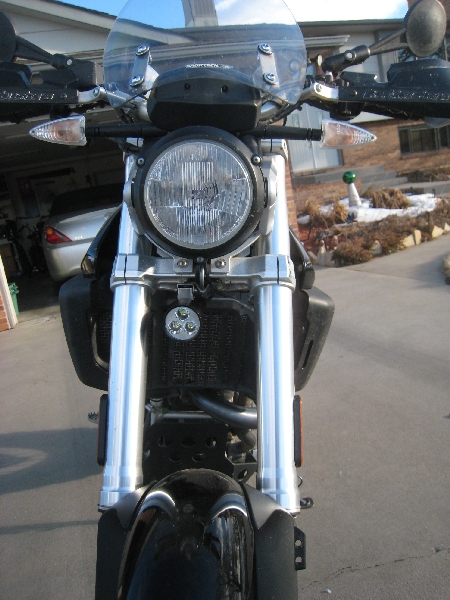
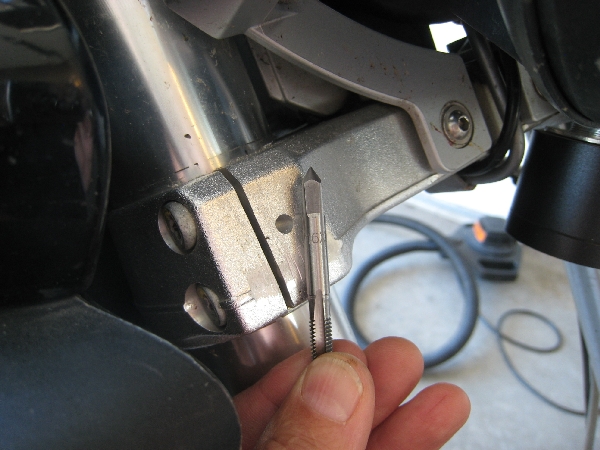
I did not want to install them up high on the handguards mostly because they would drown out the turn signals, so I decided there was so much material in the lower triple clamps that I could safely drill a hole in each one, centered between the 2 bolts and have enough depth to get several thread turns in there.
To do this I used a 6mm bolt. For the 6mm tap I drilled a 3/16" hole (.188") since it was aluminum (calls for 5mm (.197"). Was very careful not to go too deep and to not hit the fork. This worked fine actually. Just back out the tap a lot and clear the shavings while tapping.
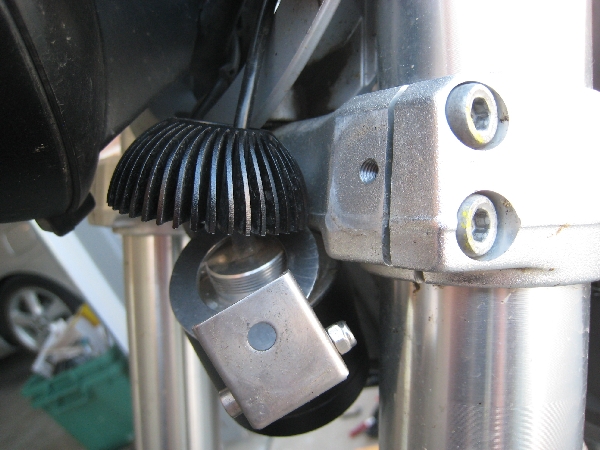
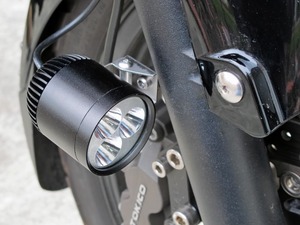
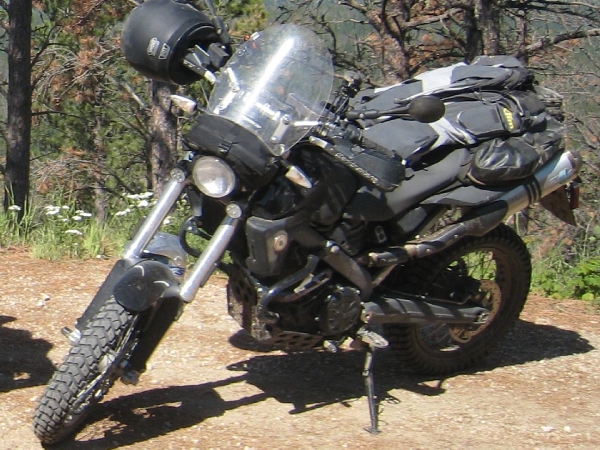
One issue is that the lights tend to sag and drop down during normal use and especially off road. Even with the spacer tube for the bolt to tighten against it tends to droop. One thing I tried to do was to rough up the surfaces by adding a thin layer of epoxy to each side and this did help.
UPDATE:
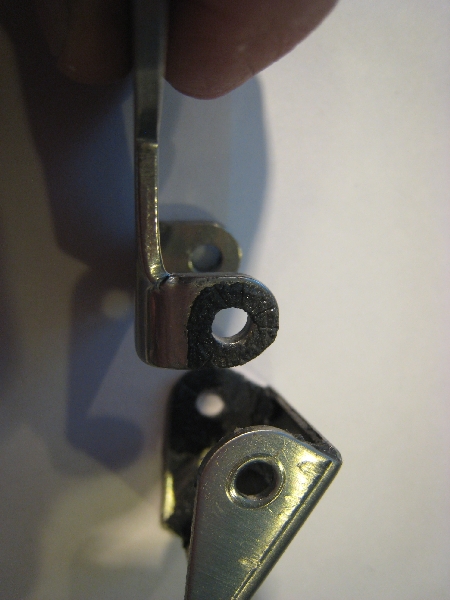
After 4 years and around 20,000 miles including probably 3,000 off road (some on rough 4x4 roads), the "heavy duty" brackets failed me. One side sheared off completely and on the other I noticed there were serious cracks developing and they were about to break as well.
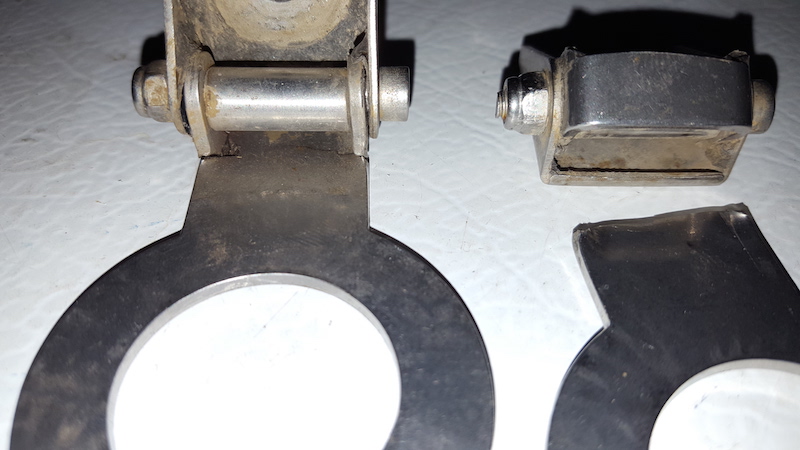
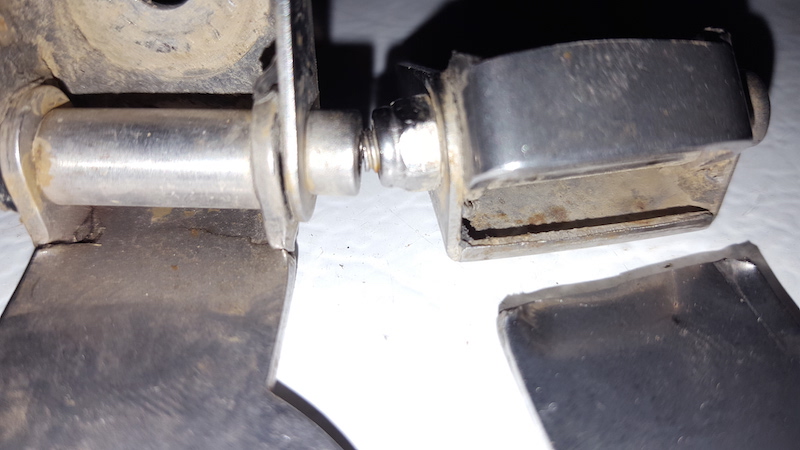
I ordered new heavy duty brackets and they too had some tiny cracks at the same location - where the sides were folded over. So I had a welder touch up the cracks with some weld beads. Too much would be bad as it really weakens the metal to heat it up so much, so only a small bead was added:

(End of update)
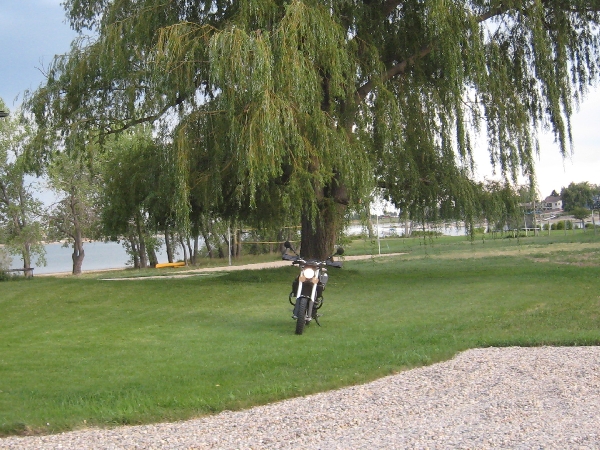
Daytime Conspicuity Pics:
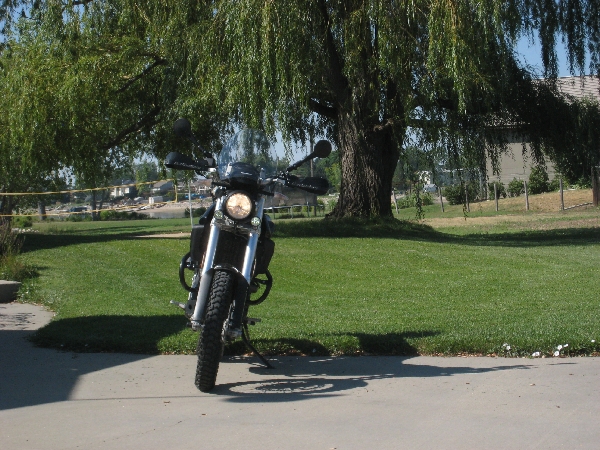
The first 2 were taken at low beam, where I have the LEDs set MUCH below 100% fully on (PWM is used for Pulse Width Modulation). The best way to demonstrate this is to take daytime pics as I don't have a high end camera with manual exposure settings.
Since the LEDs are pulse width modulated, I believe it is pulsed from 100% On to 100% off so the PWM simply modulates the duty cycle of how long it is on at a time (0-100%).
So at a quick exposure level my camera either gets the LED full on or full off, so the pics below when they are on, they are fully bright, and brighter than the eye sees them when it integrates over time.
So much for my analysis. With the lights on low beam I took a bunch of pics and some show them being off and some on.
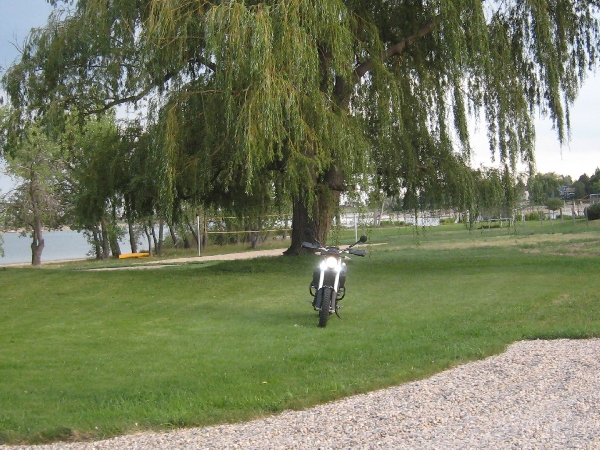
Low Beam:
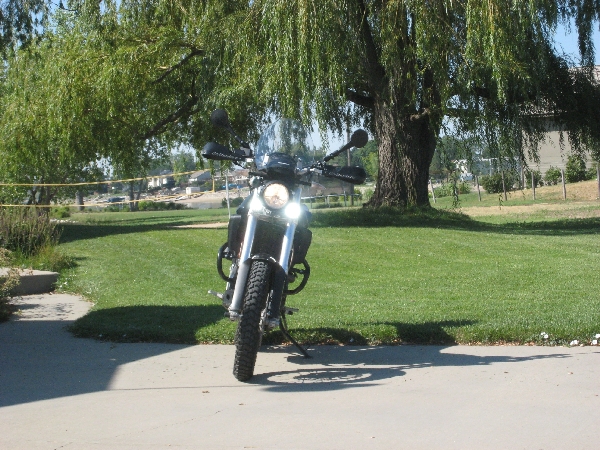
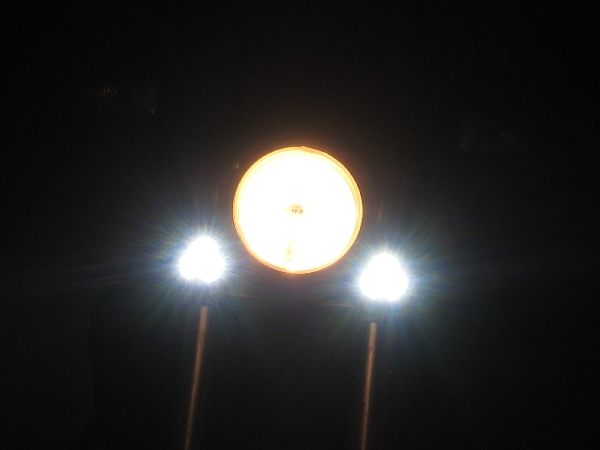
High Beam:
These are on high beam, where I simply covered them with cardboard for the first pic.
More Pics:
Back